Position your phone → Allow camera and microphone access → Set framing and grade → Record → Check playback in the library
STEP 01
Position your phone and check the whole route
Check the gym's filming rules and secure your phone in a stable position away from landing areas and walkways. Make sure both the starting and finishing holds are in view without getting in another climber's way.
ClimbCut opens to a camera preview; it does not start recording automatically. Allow camera and microphone access. New recordings include sound, and recording cannot start without microphone permission.
STEP 02
Frame your climb and add a grade if you want
Choose your phone's orientation and zoom before recording, leaving room for your hands and feet to move. Zooming in too far can cut you out of the frame when you move sideways or reach the final hold.
The recording screen's ratio button previews framing for formats such as Reels and Shorts. This guide does not crop the original. Tap where you want to focus and adjust exposure if needed.
Use the grade control at the top left to choose a discipline, grading system and value. You can record without choosing one. A selected grade is saved with the video and appears as a badge on its library thumbnail after recording.
STEP 03
Start recording, then check the saved video
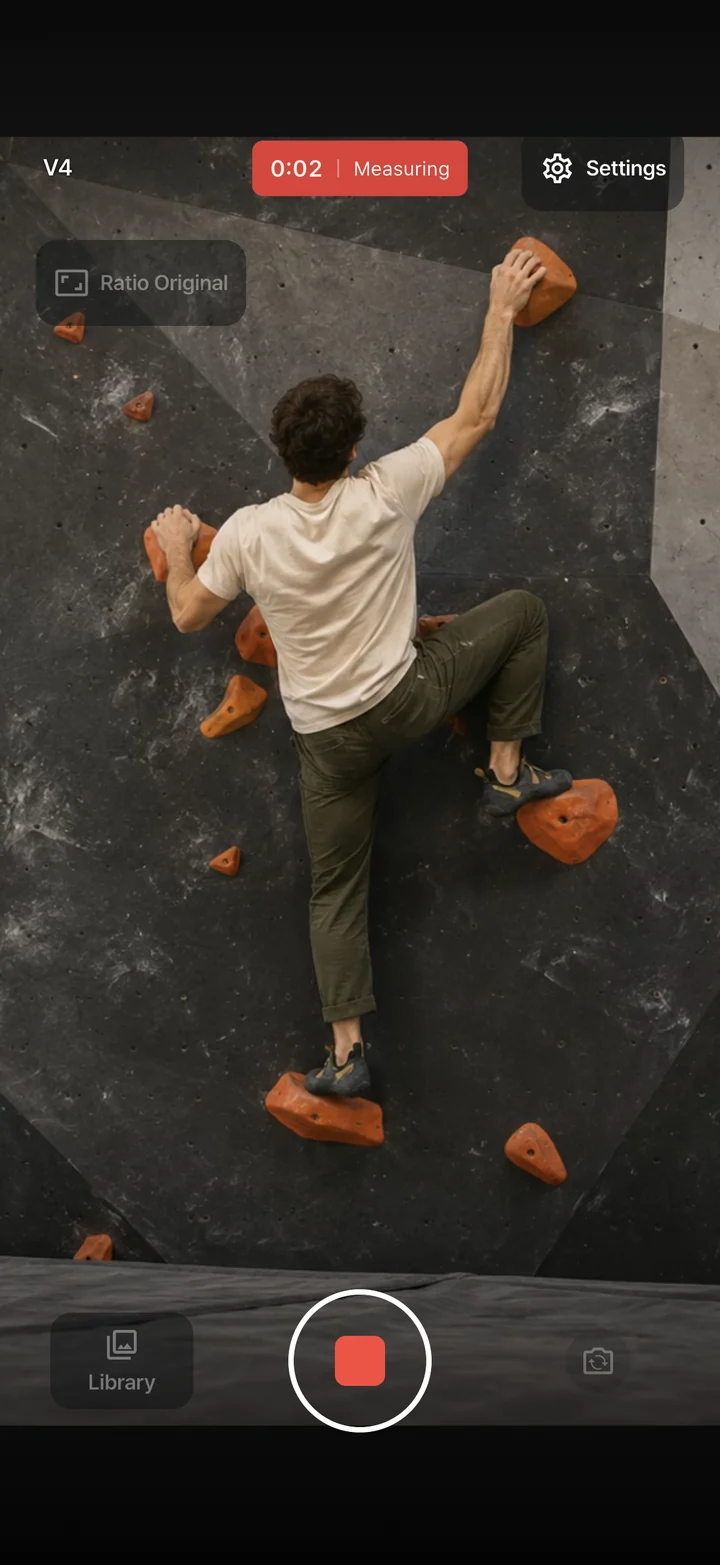
Tap record and check that the recording indicator and timer are running before you climb. Tap again after your attempt to stop. You can trim the waiting time at the start and end afterward.
Once saving finishes, open Library at the bottom left and play the video to check both picture and sound. Calls and app changes can interrupt recording, so make a short test recording before an important attempt.